Paper quilling transforms simple strips of paper into stunning three-dimensional designs through rolling, shaping, and arranging techniques.
Essential Paper Quilling Tools
- Quilling Tool: A slotted or needle tool for coiling paper strips
- Scissors: Small, sharp scissors for precise cuts
- Ruler: For measuring and cutting strips
- Glue: Clear-drying craft glue
- Template Board: For consistent coil sizes
Basic Shapes for Beginners
- Tight Coil: Roll strip tightly, glue end
- Loose Coil: Roll and release for natural expansion
- Teardrop: Pinch one end of loose coil
- Square: Pinch loose coil on four sides
- Triangle: Pinch three equal points
Quick Tips for Better Results
- Work on a clean, flat surface
- Use minimal glue to prevent paper warping
- Roll strips with consistent tension
- Store finished pieces in airtight containers
- Practice basic shapes before complex designs
Common Mistakes to Avoid
- Using too much pressure while rolling
- Rushing the drying process
- Skipping the measuring step
- Using low-quality paper
Paper Selection Guide
| Paper Type | Best Use |
|---|---|
| 160 GSM | Most projects |
| 120 GSM | Delicate designs |
| 180 GSM | Structural pieces |
Project Progression Path
Start with simple flowers using basic coils and teardrops.
Move to geometric patterns using squares and triangles.
Progress to 3D objects combining multiple shapes.
Storage Solutions
- Use plastic organizers for paper strips
- Store tools in dedicated containers
- Keep finished pieces in shadow boxes
Need supplies? Visit paper craft suppliers like Paper Mart or Michaels.
Looking for inspiration? Join paper quilling communities on Instagram using #paperquilling or #quillingart.
Creative Design Ideas
- Combine multiple shapes for floral bouquets
- Create mandala patterns with symmetrical arrangements
- Design greeting cards with miniature elements
- Craft picture frames with repeated motifs
- Make jewelry pieces using sealed coils
Advanced Techniques
Husking
Create petal shapes by folding strips before rolling.
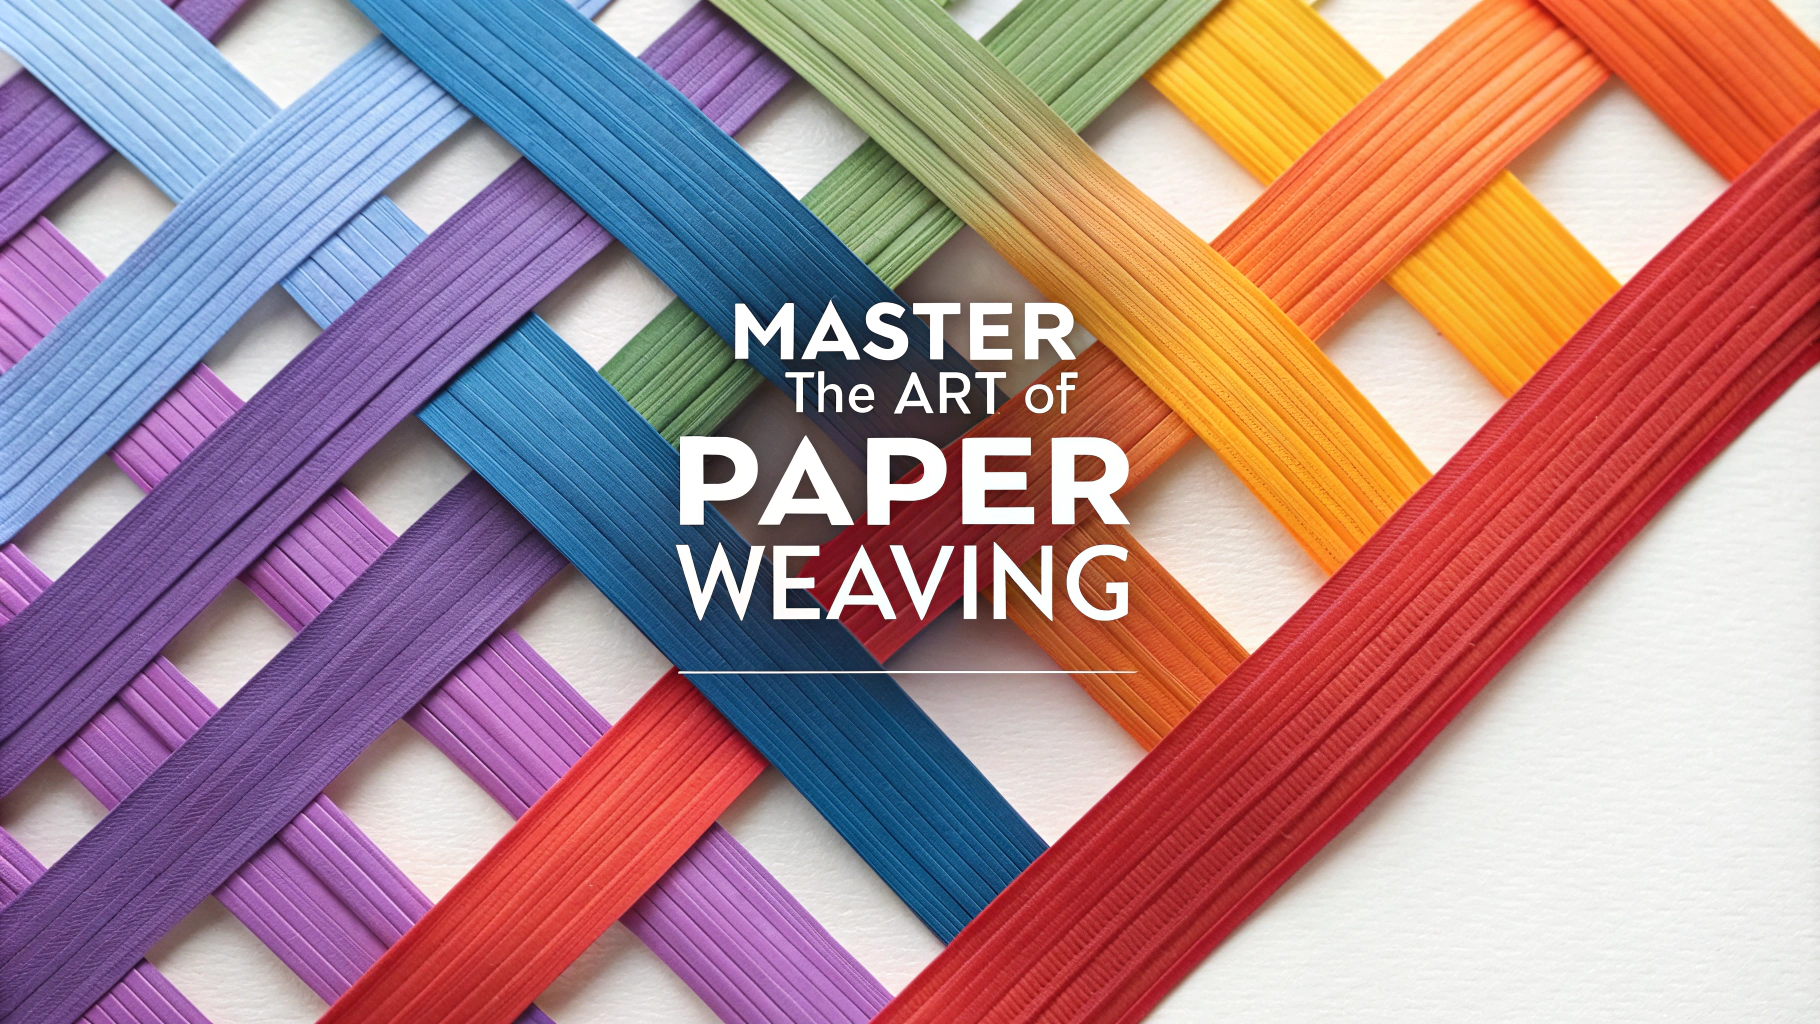
Weaving
Interlock multiple strips for basket-like textures.
Beehive
Stack graduated coils for dimensional effects.
Maintenance Tips
- Clean tools after each use
- Replace worn slotted tools annually
- Keep paper strips in humidity-controlled space
- Dust finished pieces with soft brush
Troubleshooting Guide
- Uneven coils: Adjust rolling tension
- Warped shapes: Reduce glue amount
- Brittle paper: Check storage conditions
- Color bleeding: Use quality paper strips
Conclusion
Paper quilling combines precision, patience, and creativity to produce intricate artwork. Begin with basic shapes, maintain proper tools, and gradually advance to complex designs. Join the quilling community to share experiences and continue learning new techniques.
Remember: Every quilling artist started with simple coils. Practice regularly to develop your unique style and master this versatile craft.
FAQs
1. What basic tools do I need to start paper quilling?
A quilling tool (needle or slotted), glue, ruler, scissors, quilling paper strips, and a template board are essential for beginners.
2. How do I prevent my quilled coils from unraveling?
Apply a tiny drop of white glue to the end of the strip and hold it for 10-15 seconds before releasing the coil from the tool.
3. What’s the difference between loose and tight coils in paper quilling?
Loose coils are released immediately after rolling and allowed to relax naturally, while tight coils are glued before releasing to maintain their compact shape.
4. How can I achieve consistent coil sizes?
Use a sizing template board with printed circles of different diameters and place your coils inside these circles while shaping them.
5. Why does my quilling paper tear while rolling?
Paper tearing usually occurs due to excessive tension while rolling or using low-quality paper. Roll with gentle, consistent pressure and use proper quilling strips.
6. What’s the best glue for paper quilling?
Tacky glue or clear-drying white craft glue works best as they dry quickly and don’t leave visible residue or cause paper warping.
7. How do I create different quilling shapes?
Basic shapes like teardrops, marquise, and squares are formed by pinching loose coils at specific points using your fingers or quilling tools.
8. What paper width should beginners use?
3mm (1/8 inch) strips are ideal for beginners as they’re easier to handle and provide good structural stability for basic designs.
9. How do I prevent my quilled pieces from becoming misshapen over time?
Ensure your glue is completely dry before handling, store pieces flat, and consider sealing finished works with a clear acrylic sealer.
10. What’s the best way to handle humidity affecting my quilled projects?
Store completed projects in airtight containers with silica gel packets, and work in a climate-controlled environment when possible to prevent paper from absorbing moisture.

