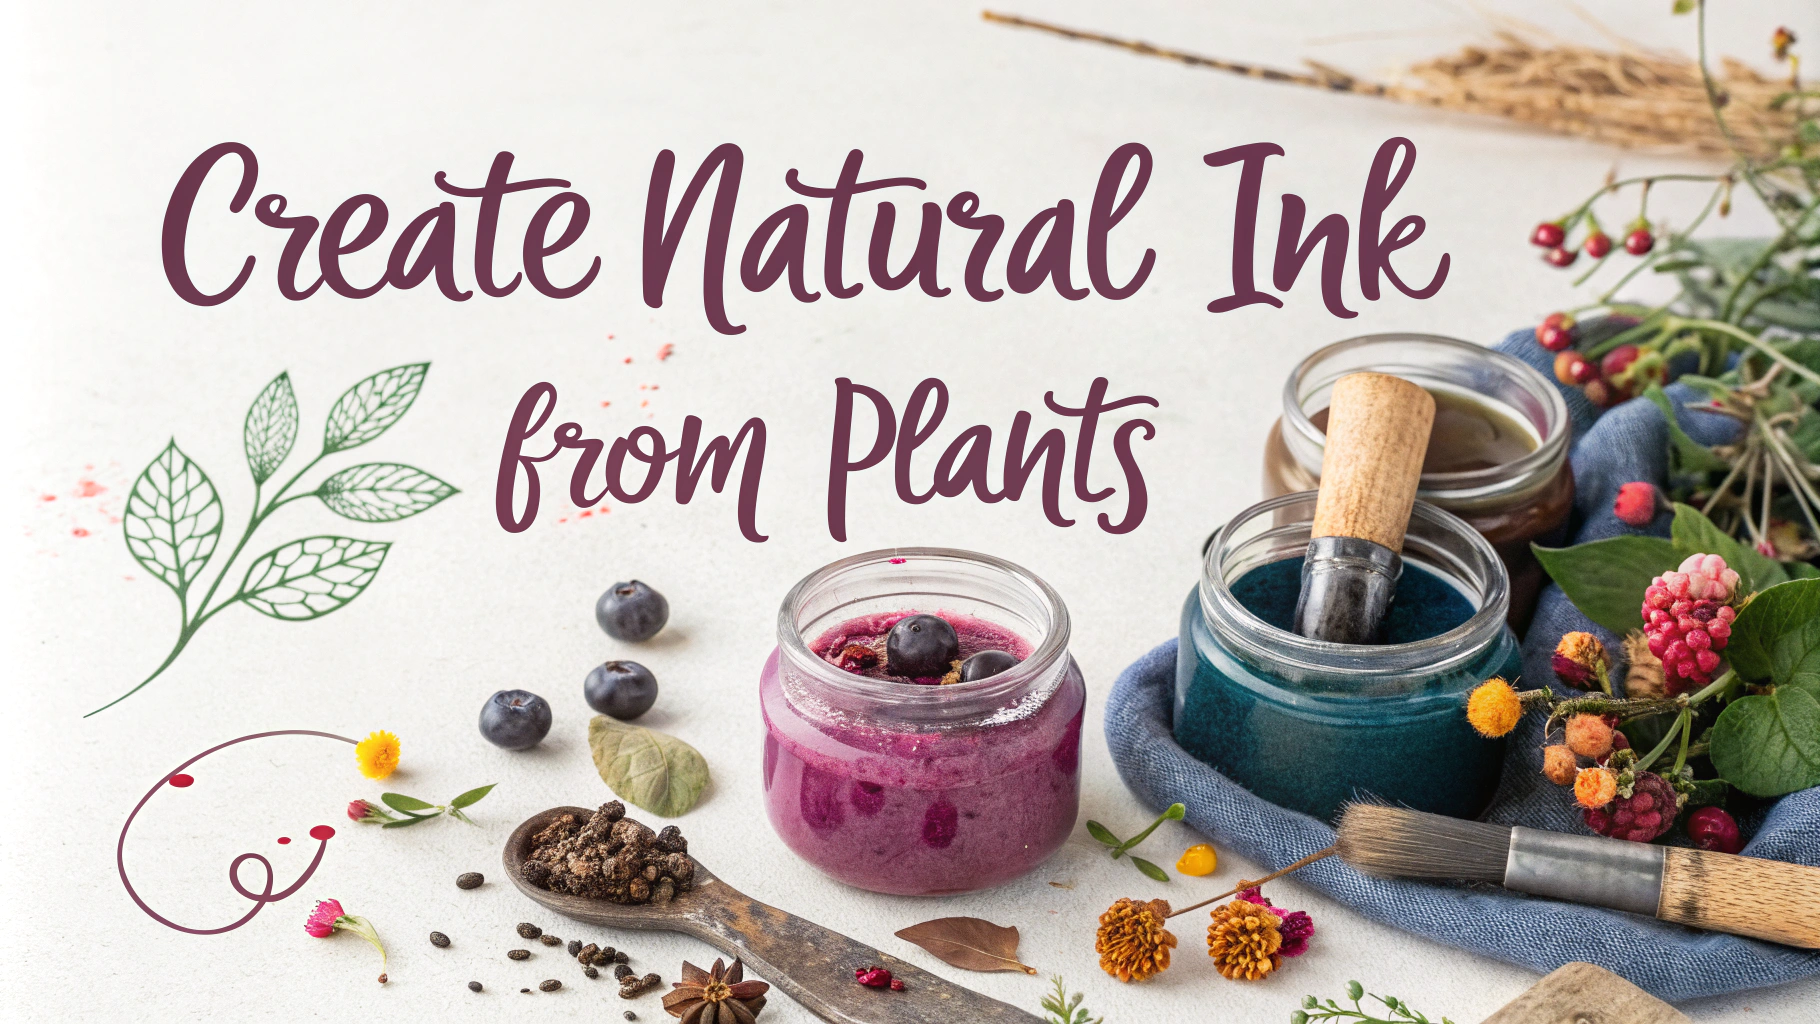
Natural dyes offer a sustainable and beautiful way to create custom color palettes for your textile projects.
Common Natural Dye Sources
- Indigo (blue shades)
- Madder root (reds and pinks)
- Weld (yellows)
- Logwood (purples)
- Cochineal (deep reds)
- Onion skins (oranges and browns)
- Avocado pits (soft pinks)
Essential Equipment
- Large stainless steel pot
- Thermometer
- pH strips
- Stirring utensils
- Strainer
- Protective gloves
Mordant Guide
| Mordant | Best For |
|---|---|
| Alum | Most plant fibers |
| Iron | Darkening colors |
| Copper | Greens and teals |
Basic Dyeing Steps
- Scour fabric thoroughly to remove oils and dirt
- Mordant your fabric according to fiber type
- Prepare dye bath by simmering plant material
- Strain the dye bath
- Add pre-mordanted fabric
- Maintain temperature between 160-180°F
- Remove fabric when desired color is achieved
Color Modification Techniques
- Add iron to darken colors
- Use copper for greener tones
- Adjust pH levels to shift colors
- Layer different dyes for complex hues
Tips for Success
- Record all recipes and results in a dye journal
- Test samples before dyeing large pieces
- Use rainwater or filtered water for best results
- Maintain consistent temperature during dyeing
Recommended Suppliers
- Botanical Colors (botanicalcolors.com)
- Maiwa (maiwa.com)
- Earth Guild (earthguild.com)
Join local natural dye groups or workshops to learn hands-on techniques and share experiences with other dyers.
Store dried dyestuffs in airtight containers away from light and moisture for maximum shelf life.
Always wear protective gear and work in a well-ventilated area when handling dyes and mordants.
Advanced Techniques
Bundle Dyeing
Create unique patterns by bundling fabric with leaves, flowers, and other plant materials before steaming or simmering.
- Wrap materials tightly in bundles
- Secure with string or rubber bands
- Steam for 1-2 hours
- Let cool completely before unwrapping
Overdyeing
Build complex colors by dyeing fabric multiple times with different natural dyes.
- Start with lighter colors
- Progress to darker shades
- Allow complete drying between layers
- Keep detailed notes of sequence
Troubleshooting Common Issues
| Problem | Solution |
|---|---|
| Uneven color | Improve scouring process, stir more frequently |
| Fading | Use proper mordant, avoid direct sunlight |
| Weak color | Increase dye material or extraction time |
Conclusion
Natural dyeing combines ancient wisdom with modern sustainability. Success requires patience, experimentation, and careful documentation. Start with simple projects and basic dyes before progressing to more complex techniques. Join the growing community of natural dyers to share knowledge and continue this traditional craft.
Key Takeaways
- Always test and document your process
- Invest in quality equipment and materials
- Practice sustainable harvesting
- Build skills gradually
- Connect with other natural dyers
FAQs
- What are the most common natural dye sources I can start with?
Avocado pits (pink), indigo (blue), turmeric (yellow), onion skins (orange/brown), madder root (red), black walnuts (brown), marigold flowers (yellow), logwood (purple), pomegranate rinds (yellow), and hibiscus flowers (pink/red) - What fabrics work best with natural dyes?
Natural fibers like cotton, linen, silk, and wool accept natural dyes best. Synthetics like polyester typically won’t take natural dyes well. Protein fibers (silk, wool) generally produce richer colors than cellulose fibers (cotton, linen). - Do I need to mordant my fabric before dyeing?
Yes, most natural dyes require a mordant (like alum, iron, or copper) to bind the dye to the fiber and ensure colorfastness. Some dyes like indigo and black walnut are substantive and don’t require mordanting. - How do I achieve consistent colors with natural dyes?
Keep detailed records of mordant percentages, water pH, dye-to-fiber ratios, temperature, and timing. Use the same water source and weigh ingredients precisely. Test samples before dyeing larger pieces. - How colorfast are natural dyes compared to synthetic dyes?
Natural dyes are generally less colorfast than synthetic dyes. They may fade with sun exposure and washing. Proper mordanting, pH control, and careful washing can help maintain color longevity. - What equipment do I need to start natural dyeing?
Stainless steel or enamel pots, thermometer, pH strips, scale, strainer, stirring utensils, protective gloves, mask, and heat source. Never use pots or tools that will later be used for food. - How can I create different shades and modify colors?
Use iron to sadden (darken) colors, vary mordant types and concentrations, over-dye with different colors, adjust pH levels, or use modifiers like copper sulfate. Sequential dipping can create deeper shades. - What safety precautions should I take when natural dyeing?
Work in well-ventilated areas, wear gloves and masks when handling powdered materials, keep dye materials separate from food areas, label all containers, and avoid using aluminum pots which can react with mordants. - How do I properly dispose of natural dye materials?
Most natural dye materials can be composted. Strain solid materials before disposing of liquid. Check local regulations for mordant disposal. Some mordants require special handling due to their metal content. - Can I create a full rainbow palette with natural dyes?
Yes, though some colors are more challenging than others. Blues come from indigo or woad, reds from madder or cochineal, yellows from weld or osage orange, and greens can be achieved by overdying blue with yellow. Pure purple and bright orange are more challenging to achieve.


