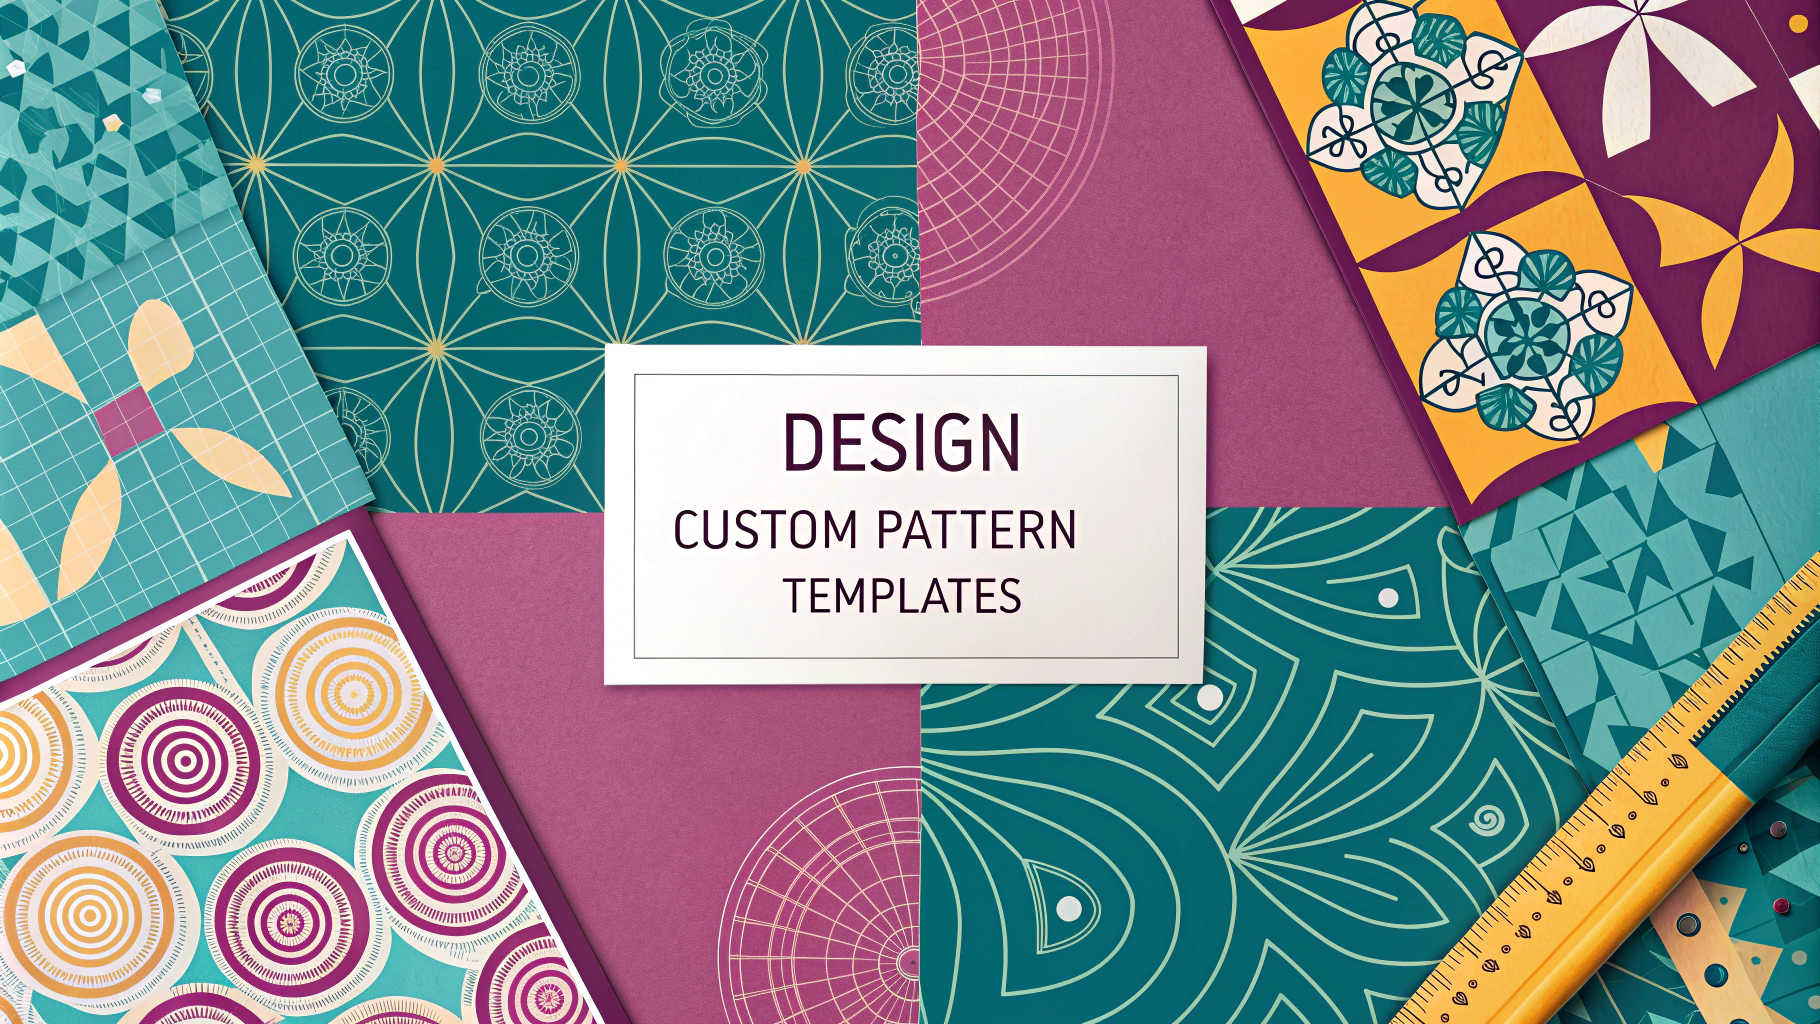
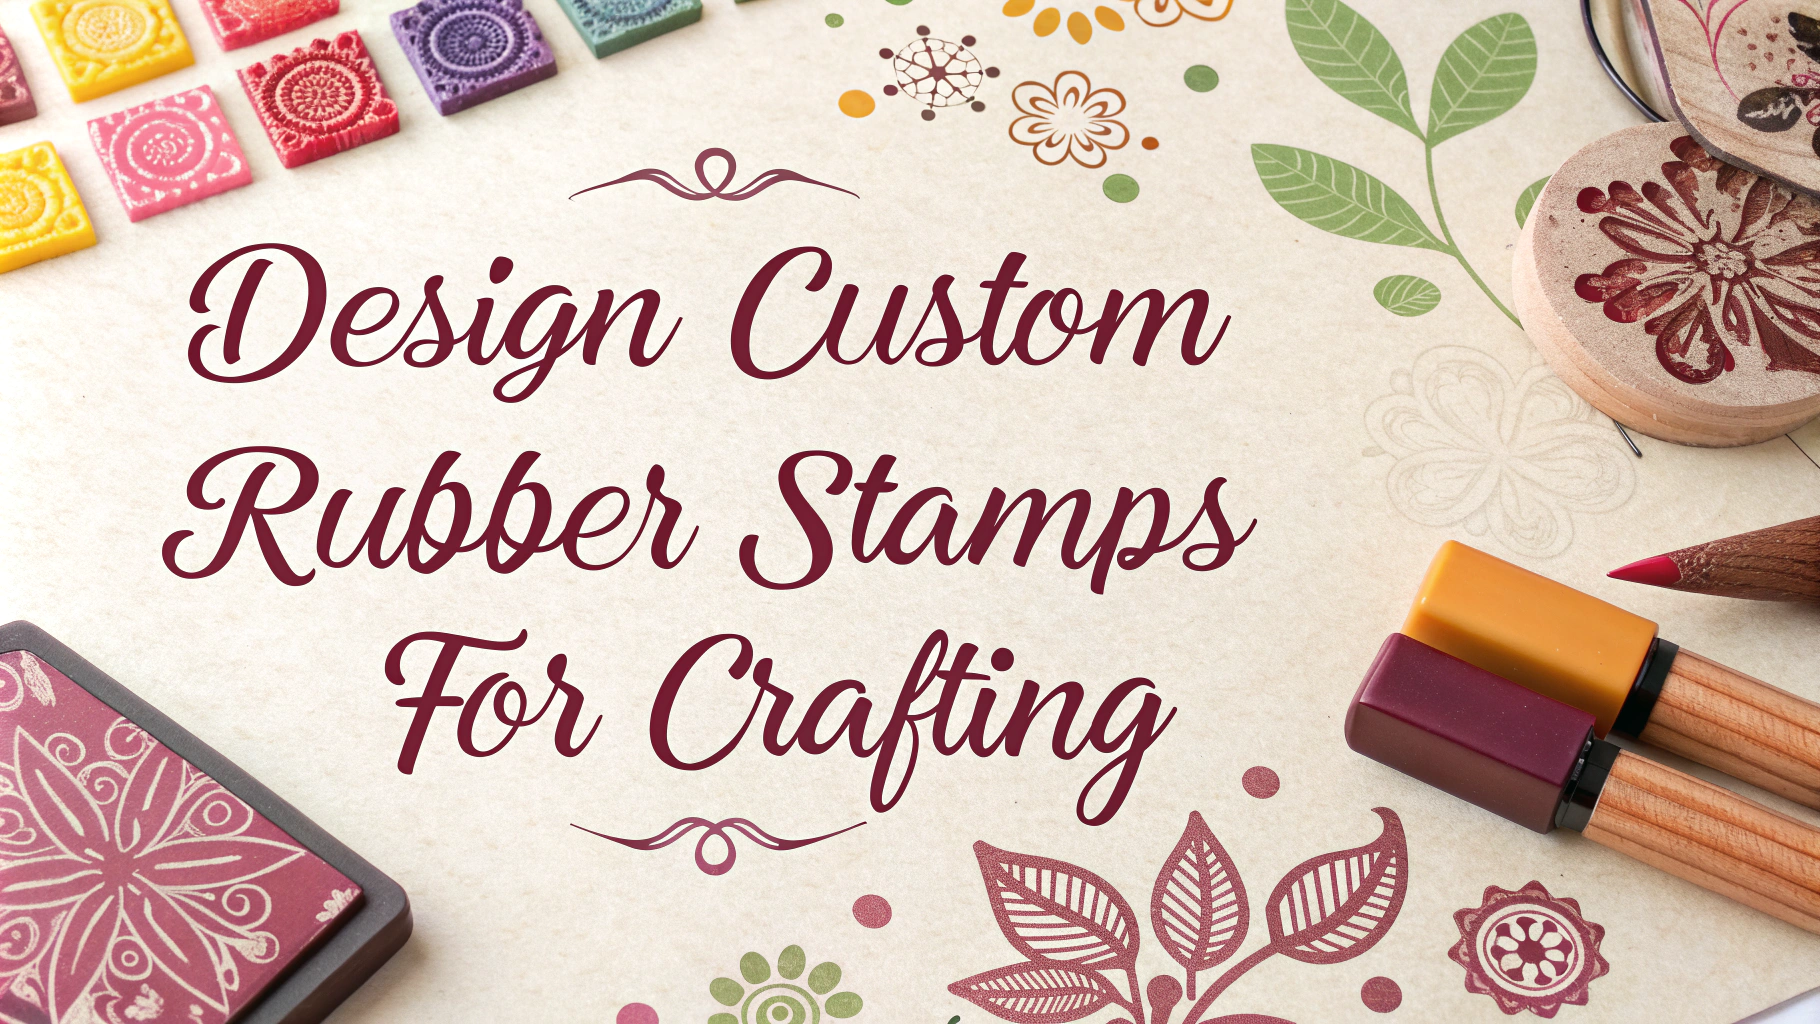
Transfer art offers an exciting way to add intricate designs and patterns to plain ceramic pieces, transforming everyday items into unique works of art.
Essential Materials
- Ceramic transfer paper
- Ceramic piece (bisque or glazed)
- Scissors
- Soft brush
- Water container
- Soft cloth
- Kiln (or access to firing services)
Selecting The Right Transfer Paper
Choose between water-slide decals for detailed images or tissue transfer papers for simpler designs.
Surface Preparation
- Clean the ceramic surface thoroughly with rubbing alcohol
- Remove any dust or oils
- Ensure the surface is completely dry
Application Process
- Cut your transfer design carefully, leaving a small border
- Soak in warm water for 30-60 seconds
- Slide the design onto your ceramic piece
- Remove air bubbles gently with a soft cloth
- Let dry completely (24 hours recommended)
Firing Guidelines
| Type of Transfer | Temperature | Duration |
|---|---|---|
| Water-slide decals | 1400-1500°F | 15-20 minutes |
| Tissue transfers | 1500-1800°F | 20-25 minutes |
Common Issues and Solutions
- Bubbling: Press out air pockets with a rubber squeegee
- Tearing: Handle transfers with extra care when wet
- Poor adhesion: Ensure surface is completely clean before application
Design Tips
- Start with simple patterns before attempting complex designs
- Consider the curve of your ceramic piece when selecting transfer size
- Test transfers on practice pieces first
For professional firing services, contact your local pottery studio or ceramic supply store.
Recommended Suppliers
- Amaco – Quality ceramic transfers and supplies
- Bailey Ceramic Supply – Wide range of transfer papers
- Sheffield Pottery – Professional-grade materials
Safety Considerations
- Wear protective gloves when handling chemicals
- Work in a well-ventilated area
- Use proper eye protection during firing
- Keep materials away from children and pets
Advanced Techniques
Layering Transfers
- Apply base layer first and let dry completely
- Add subsequent layers carefully
- Fire between layers for best results
Custom Designs
- Create personal designs using specialized software
- Print on laser printer with ceramic toner
- Test color accuracy before full production
Maintenance
- Hand wash decorated pieces
- Avoid abrasive cleaners
- Store in padded containers
- Keep away from extreme temperatures
Conclusion
Transfer art provides endless possibilities for ceramic decoration, from simple patterns to complex designs. With proper technique and patience, artists can create professional-quality pieces. Remember to practice on test pieces and maintain proper safety protocols throughout the process. As skills develop, experiment with different papers, techniques, and custom designs to develop a unique artistic style.
Join local ceramic communities or online forums to share experiences and learn new techniques from fellow artists. Regular practice and attention to detail will lead to mastery of this versatile decorating method.
FAQs
- What is ceramic transfer art and how does it differ from traditional painting on ceramics?
Ceramic transfer art is a technique where designs are printed onto special transfer paper and then applied to ceramic surfaces. Unlike direct painting, transfers allow for precise, detailed images and patterns to be consistently reproduced on ceramic pieces. - What types of transfer papers are suitable for ceramic work?
There are three main types: laser water-slide decal paper, inkjet water-slide decal paper, and tissue transfer paper. Each requires specific printing methods and firing temperatures to properly adhere to ceramic surfaces. - What temperature should I fire my ceramics after applying transfers?
Most ceramic transfers need to be fired between 1300°F to 1500°F (704°C to 816°C), depending on the type of transfer and glaze used. Always check manufacturer specifications for exact firing temperatures. - Can transfer art be applied to any ceramic surface?
Transfers work best on smooth, glazed surfaces. They can be applied to bisque-fired pieces but must be glazed afterward. The surface should be clean, dry, and free from oils or debris for optimal adhesion. - How long do ceramic transfers last?
When properly applied and fired, ceramic transfers become permanent and are as durable as the glaze itself. They are dishwasher-safe and resistant to fading, scratching, and normal wear and tear. - What tools are essential for ceramic transfer application?
Essential tools include a rubber kidney or squeegee, scissors, soft brushes, clean water, lint-free cloths, and a smooth surface for preparing transfers. A heat gun can also be helpful for drying between layers. - Can I layer multiple transfers on one piece?
Yes, transfers can be layered, but each layer should be completely dry before applying the next. Multiple layers may require separate firings to ensure proper adhesion and prevent bubbling or peeling. - What are the most common problems with ceramic transfers and how can I avoid them?
Common issues include bubbling, cracking, and peeling. These can be prevented by properly cleaning surfaces, removing all air bubbles during application, and following correct firing temperatures and schedules. - How do I create custom designs for ceramic transfers?
Custom designs can be created using graphic design software and printed on specialized transfer paper using either laser or inkjet printers. Vector graphics work best for sharp, clean transfers. - What safety precautions should I take when working with ceramic transfers?
Wear gloves when handling transfers, ensure proper ventilation during firing, and avoid inhaling fumes from burning transfer paper. Always follow manufacturer safety guidelines and use appropriate kiln safety measures.


