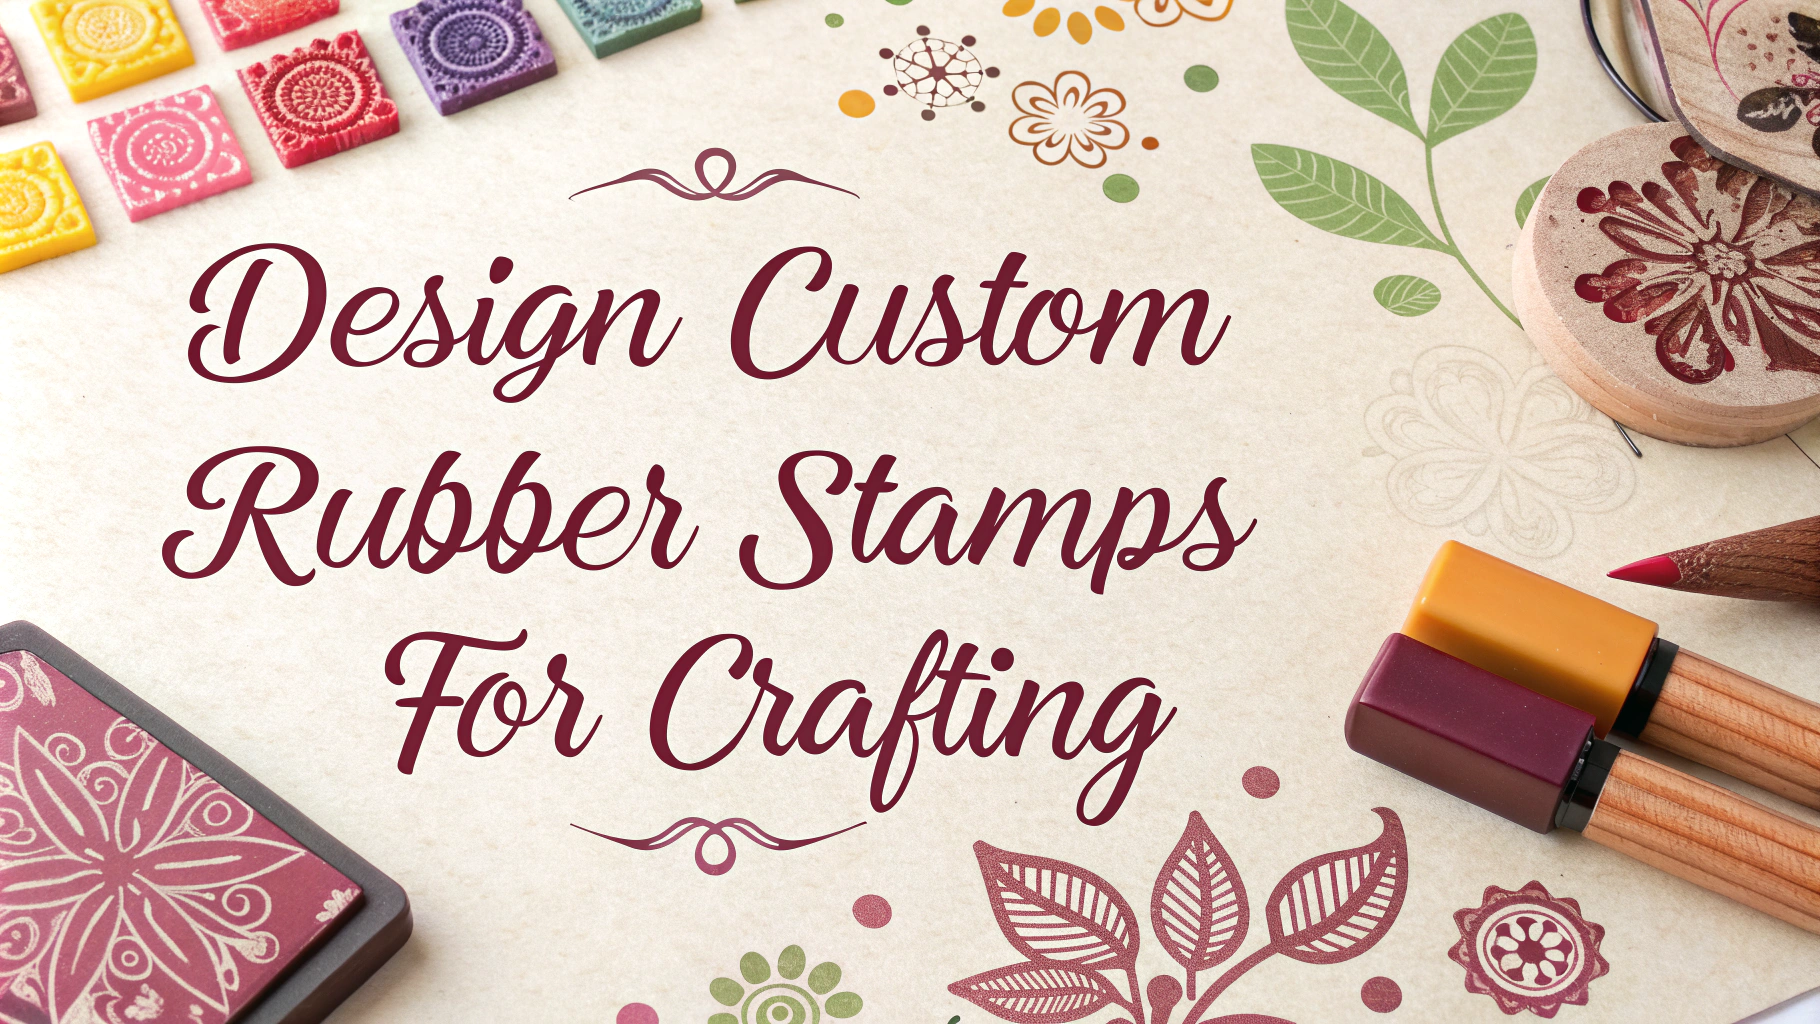
Creating custom rubber stamps opens up endless possibilities for crafting and mixed media projects.
Essential Materials
- Carving blocks: Speedball Speedy-Carve, Pink Stuff, or EZ-Cut
- Carving tools: Speedball Lino Set or Pfeil Swiss Made Tools
- Transfer paper or carbon paper
- Pencils and fine-tip markers
- Stamp mounting blocks (optional)
Design Planning Tips
- Start with simple designs before attempting complex patterns
- Remember your design will print in reverse
- Avoid extremely fine details when beginning
- Keep negative space in mind – it’s as important as the carved areas
Step-by-Step Process
- Sketch your design on paper first
- Transfer design to carving block using transfer paper
- Start carving with larger areas first
- Test print frequently during carving
- Clean up edges and details last
Advanced Techniques
Experiment with texture tools to create different effects in your stamps.
Try layering multiple stamps for complex designs.
Create registration marks for multi-stamp designs.
| Problem | Solution |
|---|---|
| Uneven stamping | Mount stamp on acrylic block |
| Blurry impressions | Clean stamp between uses |
| Design breaks | Carve less deeply |
Care and Maintenance
- Clean stamps immediately after use
- Store flat away from direct sunlight
- Use proper cleaning solutions for different ink types
- Check for damage before each use
Recommended Suppliers
- Blick Art Materials: www.dickblick.com
- Speedball Art: www.speedballart.com
- Jerry’s Artarama: www.jerrysartarama.com
Contact your local art supply store for hands-on workshops and demonstrations.
Safety Considerations
- Always cut away from your body
- Use a non-slip mat under carving block
- Keep tools sharp for better control
- Wear protective finger guards if needed
- Work in well-lit conditions
Creative Applications
Paper Crafts
- Greeting cards and stationary
- Gift wrapping paper
- Scrapbook elements
- Art journals
Fabric Projects
- Custom t-shirts
- Decorative pillowcases
- Canvas bags
- Quilting designs
Troubleshooting Common Issues
| Issue | Prevention |
|---|---|
| Ink bleeding | Use less ink or switch to thicker paper |
| Uneven pressure | Practice consistent stamping technique |
| Warped blocks | Store properly and avoid heat exposure |
Conclusion
Custom rubber stamp making combines artistic expression with practical crafting applications. With proper tools, techniques, and practice, anyone can create unique stamps for various creative projects. Remember to start simple, maintain your tools, and gradually build your skills to achieve professional-looking results.
Join local crafting communities or online forums to share experiences and continue learning new techniques in stamp carving.
FAQs
1. What materials do I need to make custom rubber stamps?
You’ll need carving blocks (like Speedball Speedy-Carve or pink carving rubber), carving tools, pencils for design transfer, a brayer, ink pads, a cutting mat, and transfer paper. Optional materials include handle mounts and mounting adhesive.
2. How do I transfer my design onto the rubber block?
Draw your design on paper, then flip it and transfer it to the rubber using carbon paper or by rubbing the back of your pencil drawing directly onto the rubber. The design must be reversed to stamp correctly.
3. What’s the difference between vulcanized rubber and polymer blocks for stamp carving?
Vulcanized rubber is more durable and provides cleaner impressions but is harder to carve. Polymer blocks (like Speedball Speedy-Carve) are softer, easier to carve, but may wear down faster with frequent use.
4. How do I achieve fine details in my rubber stamp designs?
Use sharp V-shaped gouges for thin lines, keep your tools clean and sharp, work slowly, and carve away from your body. Start with larger areas first, then work on the details with smaller tools.
5. Which inks work best with custom rubber stamps?
Pigment inks work well for paper and cardstock, while solvent-based inks are better for non-porous surfaces. Archival inks are ideal for permanent artwork, and chalk inks provide a matte finish.
6. How do I clean and maintain my custom rubber stamps?
Clean stamps immediately after use with stamp cleaner or baby wipes. Store them face-down on a clean surface, away from direct sunlight and heat. Avoid using alcohol-based cleaners as they can deteriorate the rubber.
7. What surfaces can I use custom rubber stamps on?
Custom rubber stamps work on paper, cardstock, fabric, wood, clay, and some plastics. Each surface requires specific ink types – for example, StazOn ink for non-porous surfaces and fabric ink for textiles.
8. How can I prevent my stamps from creating unwanted lines or marks?
Carefully check and clean up any unintentional raised areas in your carving, use adequate but not excessive ink, and apply even pressure when stamping. Test your stamp on scrap paper first.
9. What’s the best way to create multiple-color stamps?
Use mask techniques, create separate stamps for different colors, or apply multiple ink colors directly to the stamp with markers or ink pads. Clean the stamp between color changes to prevent mixing.
10. How do I fix mistakes while carving rubber stamps?
Small mistakes can be fixed by carefully carving away problem areas. For larger mistakes, you can either incorporate them into your design or start over with a new block. There’s no way to add back rubber once it’s carved away.


