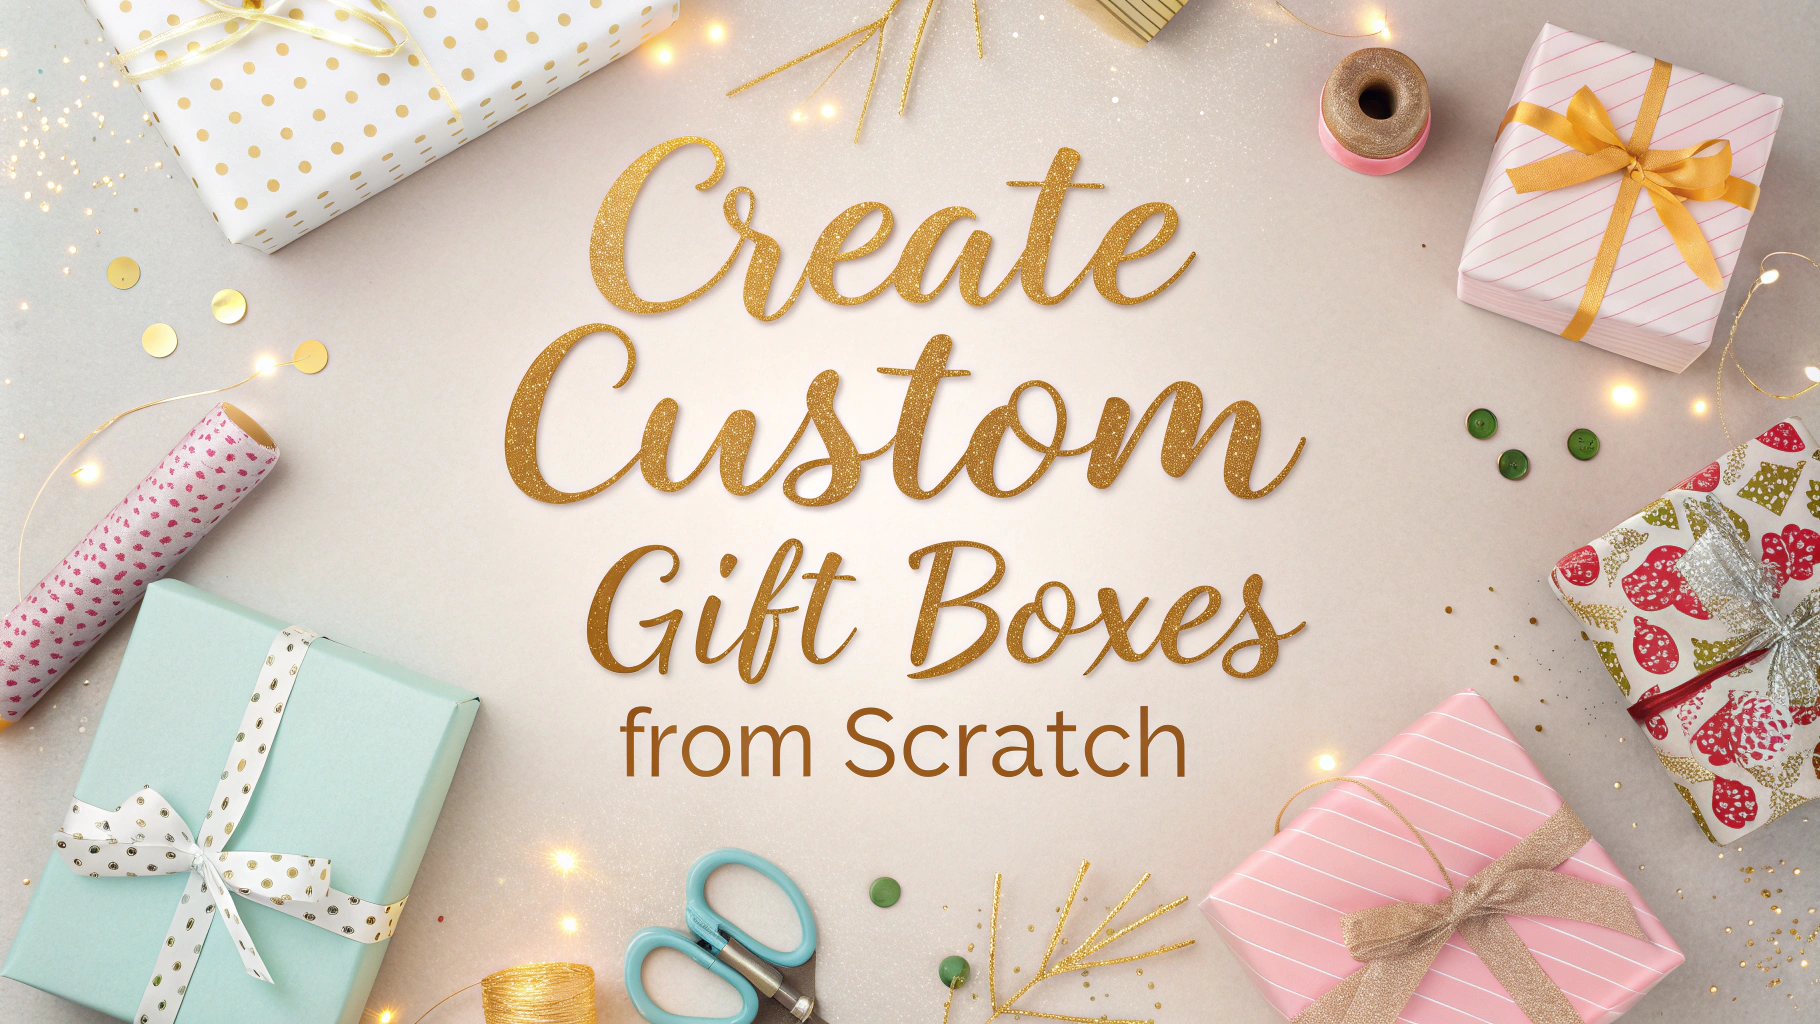
Custom gift boxes transform ordinary presents into memorable treasures that showcase thoughtful personalization.
Essential Materials
- Heavy cardstock or construction paper (12×12 inches recommended)
- Ruler and pencil
- Sharp scissors or craft knife
- Bone folder or scoring tool
- Strong adhesive (double-sided tape or craft glue)
- Decorative elements (ribbons, washi tape, stamps)
Basic Box Construction Steps
- Measure and Mark: Draw your box template on cardstock, including tabs for assembly
- Score: Create crisp fold lines using a bone folder along marked edges
- Cut: Carefully cut out the template, including any decorative elements
- Fold: Bend along scored lines to form box shape
- Assemble: Apply adhesive to tabs and join corners securely
Size Guide for Common Gifts
| Gift Type | Recommended Box Size (LxWxH) |
|---|---|
| Jewelry | 3″ x 3″ x 2″ |
| Books | 9″ x 6″ x 2″ |
| Clothing | 12″ x 8″ x 3″ |
Decoration Techniques
- Paper Quilling: Roll thin strips of paper to create intricate designs
- Embossing: Create raised patterns using heat tools and embossing powder
- Decoupage: Layer decorative paper pieces with decoupage medium
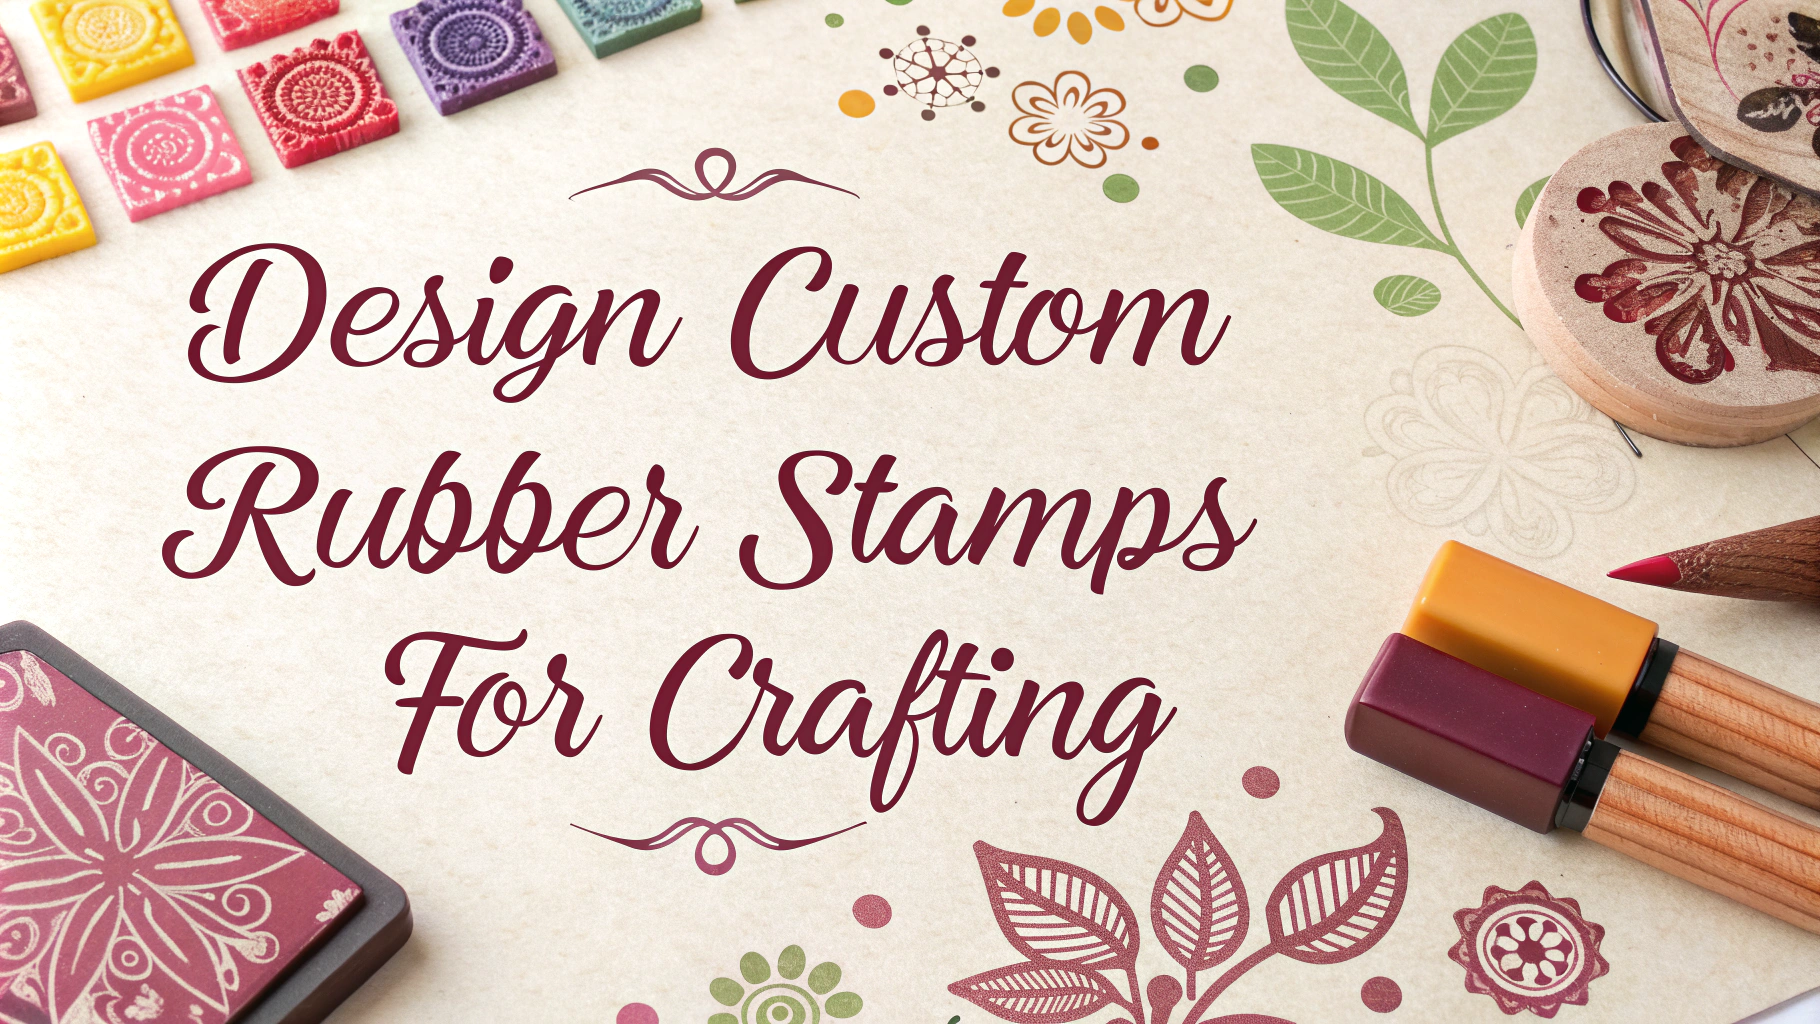
- Stamping: Apply ink designs using rubber stamps
Professional Tips
Always measure twice and cut once to ensure precise box dimensions.
Score lines should be firm but not cut through the paper.
Test-fold your box before applying adhesive to check for proper alignment.
Store completed boxes flat until needed to save space and maintain shape.
Troubleshooting Common Issues
- Uneven Corners: Double-check measurements and scoring depth
- Weak Joints: Use stronger adhesive or reinforce with decorative tape
- Paper Tearing: Score more gently and use fresh blades for cutting
For additional guidance and templates, visit Paper Mart or Stampin’ Up.
Storage and Care
- Store materials flat in a cool, dry place
- Keep adhesives tightly sealed
- Replace cutting blades regularly
- Protect finished boxes from moisture and direct sunlight
Embellishment Ideas
- Hand-painted watercolor designs
- Metallic washi tape borders
- Die-cut window openings
- Ribbon weaving patterns
- Pressed dried flowers
- Customized name tags
Theme Suggestions
Seasonal
- Spring: Pastel colors with floral accents
- Summer: Bright patterns with tropical motifs
- Fall: Warm tones with leaf designs
- Winter: Metallics with snowflake patterns
Occasions
- Weddings: Elegant whites with pearl accents
- Birthdays: Festive colors with confetti designs
- Holidays: Traditional colors with themed motifs
- Corporate: Professional designs with logo integration
Environmental Considerations
- Use recycled paper products
- Choose eco-friendly adhesives
- Incorporate reusable elements
- Consider biodegradable decorations
Conclusion
Custom gift boxes offer endless creative possibilities while adding personal value to any present. With proper materials, techniques, and attention to detail, crafters can create professional-quality boxes that recipients will treasure. Remember to maintain your tools, experiment with different designs, and always prioritize quality construction for the best results.
Start with basic designs and gradually incorporate more advanced techniques as your skills develop. Whether for personal gifts or professional presentations, custom gift boxes demonstrate care and creativity in gift-giving.
FAQs
- What materials do I need to create a custom gift box from scratch?
You’ll need cardstock or heavyweight paper (160-200 gsm), a ruler, pencil, scissors or craft knife, scoring tool, bone folder, adhesive (PVA glue or double-sided tape), and decorative papers or embellishments. - How do I calculate the dimensions for a custom gift box?
Add 2 inches to your item’s length, width, and height measurements. For the lid, add an additional 1/8 inch to ensure a proper fit. Include 1-inch flaps on all sides for assembly. - What’s the best scoring technique for clean folds?
Use a scoring tool with a ruler on the inside of fold lines, applying medium pressure. Score on the side that will be the inside of the box. Double-score thick papers for sharper folds. - How can I reinforce my gift box for heavier items?
Double-layer the base with additional cardstock, add corner supports, or create a cross-support structure inside. Use strong adhesive like PVA glue for joints. - What’s the best way to create perfect corners?
Cut away excess material at 45-degree angles where flaps meet, leaving 1-2mm space between cuts. This reduces bulk and creates clean, professional corners. - How do I prevent paper from cracking when folding?
Score thoroughly before folding, use a bone folder to smooth creases, and fold with the paper grain. For thick paper, score both sides if necessary. - What types of adhesives work best for gift box assembly?
PVA glue provides the strongest bond, while double-sided tape offers clean, instant adhesion. Hot glue works for quick assembly but may show through thinner papers. - How can I make my gift box water-resistant?
Apply clear acrylic sealer or mod podge to the exterior, ensuring all edges and corners are sealed. Allow full drying between coats. - What’s the best method for creating a fitted insert?
Measure internal dimensions, subtract 1/8 inch for clearance, and create a cushioned platform using cardboard wrapped in tissue or felt. Add dividers as needed. - How do I create a professional-looking lid that stays in place?
Design the lid with sides 1/8 inch larger than the base. Create a lip or shoulder around the inner edge of the lid that sits inside the base for a secure fit.


