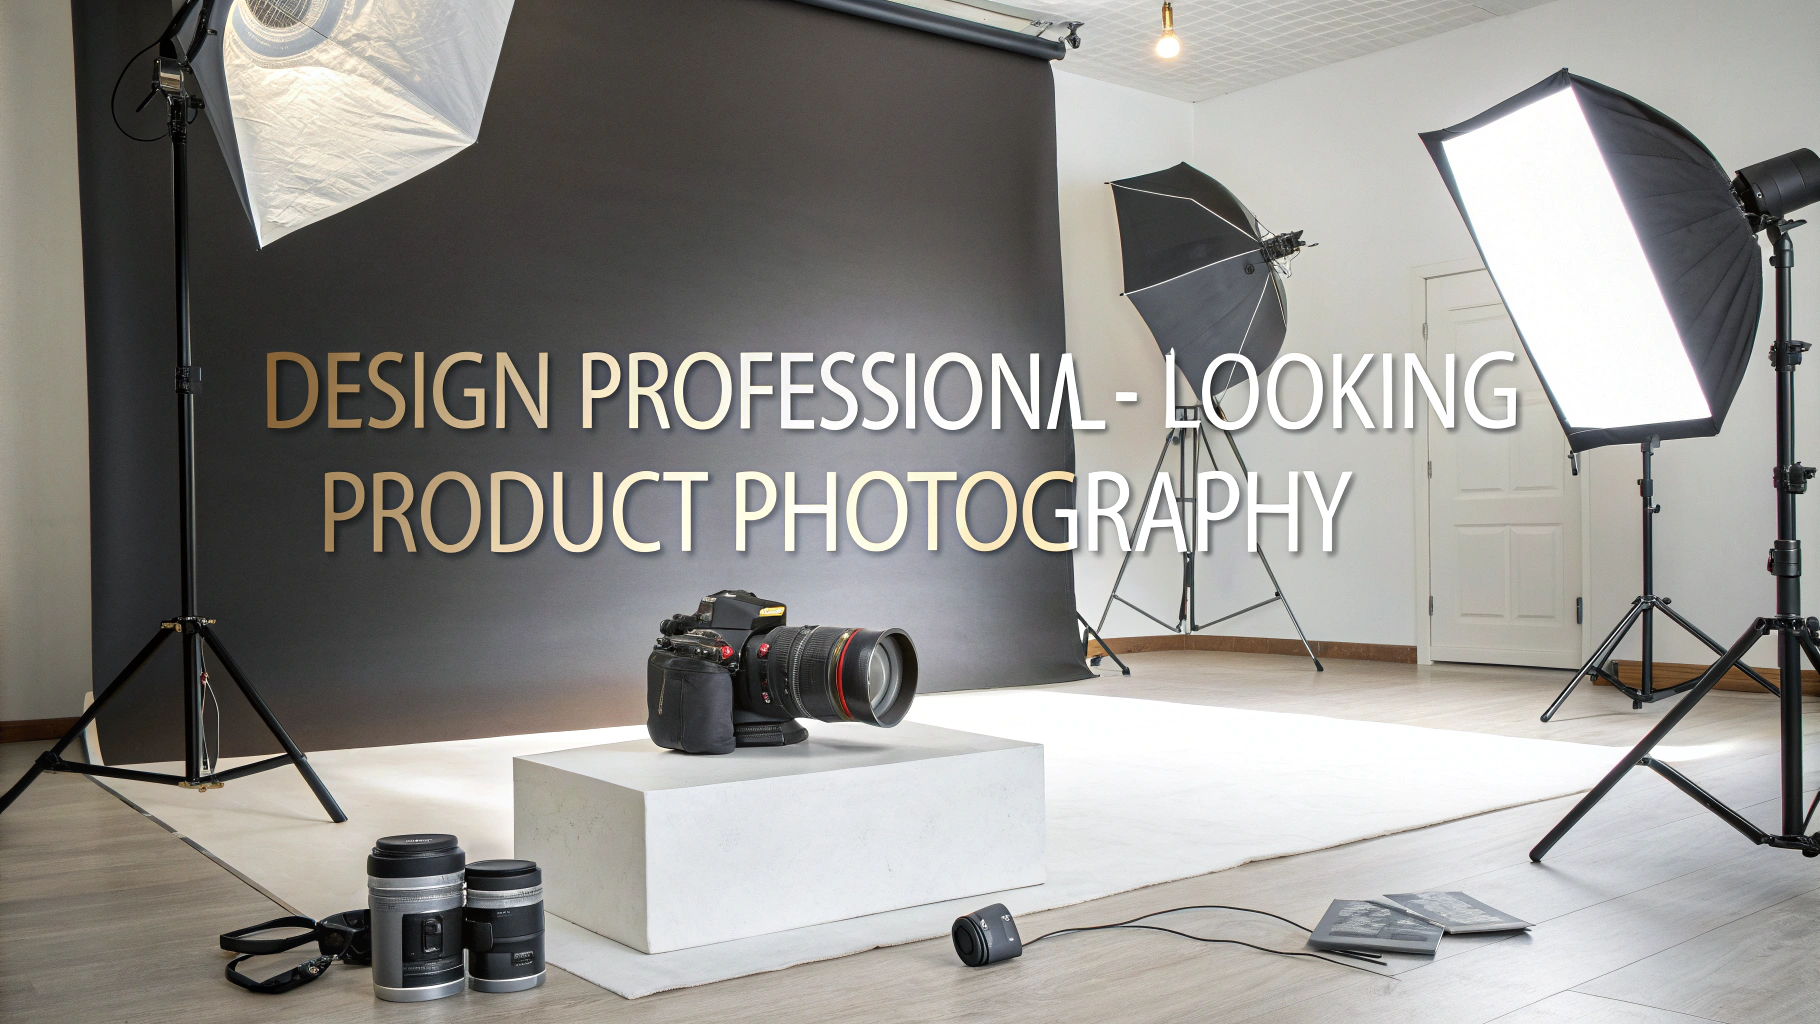
Professional product photography can transform your online store and boost sales without requiring an enormous investment.
This guide breaks down the essential equipment, techniques, and budget considerations for creating stunning product photos in-house.
Basic Equipment Needed
- Camera ($400-2000): A mid-range DSLR or mirrorless camera like the Canon EOS Rebel T7 or Sony a6100
- Lighting ($200-500): Two softbox lights or LED panels
- Backdrop ($50-150): White sweep or lightbox setup
- Tripod ($50-150): Sturdy model with adjustable height
Optional but Recommended Equipment
- Light reflectors ($20-50): For fill lighting and reducing shadows
- Remote shutter ($20): Prevents camera shake
- Color calibration card ($30): Ensures accurate colors
Studio Setup Guidelines
- Select a room with minimal natural light for consistent results
- Position lights at 45-degree angles to the product
- Mount camera on tripod at product height
- Use white backdrop to minimize distractions
Camera Settings for Product Photography
- ISO: 100-400 for minimal noise
- Aperture: f/8 to f/11 for optimal depth of field
- Shutter Speed: 1/60 or slower with tripod
- White Balance: Manual setting based on lighting type
Post-Processing Software Options
| Software | Cost | Best For |
|---|---|---|
| Adobe Lightroom | $9.99/month | Batch editing, color correction |
| Capture One | $299 one-time | Professional tethered shooting |
| GIMP | Free | Basic editing, background removal |
Cost-Saving Tips
- Start with a simple white paper sweep instead of expensive backdrops
- Use natural light near windows before investing in artificial lighting
- Rent equipment for one-time photo shoots
- Consider smartphone photography with add-on lenses ($50-100)
Common Mistakes to Avoid
- Uneven lighting causing harsh shadows
- Poor focus or camera shake
- Incorrect white balance
- Cluttered backgrounds
For personalized advice on product photography setups, contact professional photography organizations like Professional Photographers of America (PPA) at www.ppa.com.
Advanced Shooting Techniques
- Focus Stacking: Multiple shots at different focus points for complete product sharpness
- 360-degree Photography: Sequential shots to create rotating product views
- Macro Photography: Close-up shots for small product details
- Lifestyle Shots: Products in real-world settings
Image Optimization for E-commerce
File Specifications
- Resolution: 72 DPI for web use
- Format: JPEG for products, PNG for transparent backgrounds
- Size: Under 200KB for fast loading
- Dimensions: 1000-2000 pixels on longest side
Platform Requirements
| Platform | Image Specs | Max File Size |
|---|---|---|
| Amazon | 2000x2000px | 10MB |
| Shopify | 2048x2048px | 20MB |
| Etsy | 3000x3000px | 1MB |
Conclusion
Professional product photography is a valuable investment for e-commerce success. With proper equipment, techniques, and attention to detail, businesses can create high-quality product images in-house. Start with essential equipment and gradually expand capabilities based on specific needs and budget.
Remember to maintain consistency across all product images, optimize for different platforms, and regularly update your photo library to reflect current trends and standards. For complex products or large catalogs, consider outsourcing to professional photographers while handling routine updates in-house.
FAQs
- What essential equipment do I need to start product photography?
You need a DSLR or mirrorless camera, a tripod, lighting equipment (at least 2 softboxes or LED panels), a light tent or seamless backdrop, props/surfaces, and basic photo editing software. - How much does a basic product photography setup typically cost?
A basic professional setup costs between $1,000-$2,500, including a mid-range camera ($500-800), tripod ($100-200), lighting kit ($200-400), backdrop system ($100-200), and editing software subscription ($10-20/month). - What camera settings work best for product photography?
Use aperture priority mode (f/8 to f/11 for depth of field), ISO 100-400 for minimal noise, shutter speed above 1/60, and shoot in RAW format for better editing flexibility. - How do I eliminate unwanted reflections on shiny products?
Use polarizing filters, diffuse lighting, black flags (light blockers), and position lights at 45-degree angles. For highly reflective items, use a light tent with diffused lighting. - What’s the best way to achieve pure white backgrounds?
Use a light tent or seamless white backdrop, position two lights on the background, one light on the product, and adjust exposure in post-processing to achieve pure white (RGB 255,255,255) without overexposing the product. - How can I calculate my product photography pricing for clients?
Calculate hourly rate (equipment costs + overhead + desired profit margin), multiply by estimated time per product, add post-processing time, and factor in complexity. Standard rates range from $25-250 per photo. - What file formats and sizes should I deliver to clients?
Provide high-resolution JPEG files (300dpi) for print, web-optimized images (72dpi), and optionally TIFF files for maximum quality. Standard sizes include 2000px-3000px on the longest side for e-commerce. - How do I ensure consistent colors across different products?
Use a color calibration card, shoot in controlled lighting conditions, calibrate your monitor, and maintain consistent white balance settings. Process images in batches using identical editing settings. - What’s the recommended workflow for efficient product photography?
Plan shots, prep products, set up lighting, take test shots, photograph all similar items together, batch edit photos, perform quality control, and organize files systematically before delivery. - How can I create natural-looking shadows for product photos?
Position a light source at 45 degrees above the product, use a black card on the opposite side to control reflection, and adjust shadow density in post-processing. For floating products, create drop shadows during editing.

