Custom storage boxes offer a practical way to organize your space while enhancing your home’s aesthetic appeal.
This guide walks you through creating personalized storage solutions that complement your existing decor.
Materials Needed
- Sturdy cardboard boxes
- Decorative paper or fabric
- Adhesive (craft glue or mod podge)
- Scissors
- Ruler and pencil
- Optional: ribbon, handles, or decorative elements
Size Planning
| Box Type | Recommended Dimensions | Best Use |
|---|---|---|
| Small | 6″ x 6″ x 6″ | Office supplies, jewelry |
| Medium | 12″ x 12″ x 12″ | Books, clothes |
| Large | 18″ x 18″ x 18″ | Blankets, seasonal items |
Design Tips
- Color Matching: Choose papers or fabrics that match your room’s color scheme
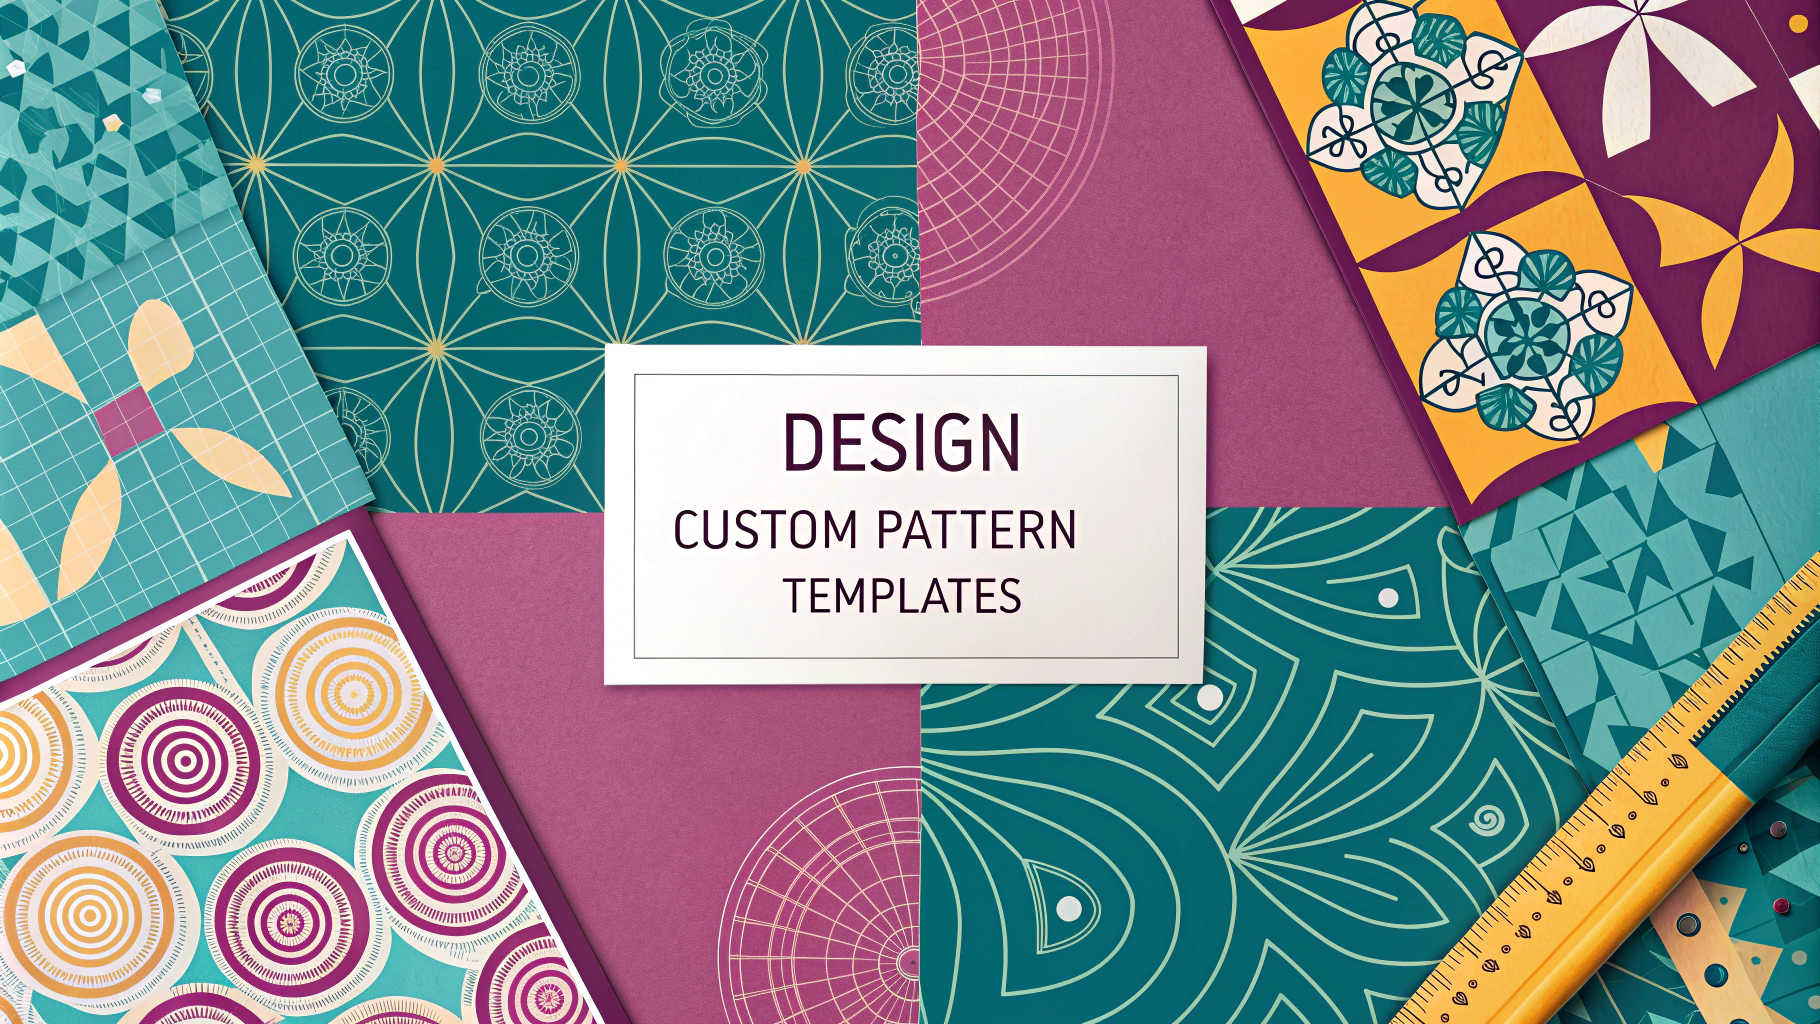
- Pattern Play: Mix solid colors with patterns for visual interest
- Texture: Consider using textured papers or fabrics for added dimension
- Labels: Create coordinating labels for easy identification
Step-by-Step Process
- Measure your box dimensions and add 1 inch for overlap
- Cut your decorative material according to measurements
- Apply adhesive evenly to one side of the box
- Carefully smooth the covering material, working from center to edges
- Fold edges neatly and secure with additional adhesive
- Add any decorative elements or hardware
Storage Ideas by Room
- Living Room: Create boxes for remote controls, magazines, or gaming accessories
- Bedroom: Design boxes for accessories, seasonal clothing, or bedding
- Home Office: Make coordinating boxes for files, supplies, or tech accessories
- Craft Room: Design specialized compartments for different craft supplies
Remember to reinforce the bottom of larger boxes with additional cardboard for durability.
Maintenance Tips
- Dust boxes regularly with a soft cloth
- Keep boxes away from direct sunlight to prevent fading
- Handle corners and edges with care to prevent wear
- Consider applying a protective sealant for longevity
For professional-grade storage solutions or custom sizes, contact local craft stores or storage specialists.
Additional Customization Options
- Compartments: Create dividers for better organization
- Stackability: Add reinforced corners for secure stacking
- Handles: Install rope, leather, or metal handles for easy transport
- Lids: Design matching removable tops for dust protection
Common Mistakes to Avoid
- Using weak boxes for heavy items
- Skipping the measurement step
- Applying too much adhesive
- Not allowing sufficient drying time
- Overlooking ventilation for stored items
Eco-Friendly Alternatives
- Recycled cardboard boxes
- Natural fiber fabrics
- Water-based adhesives
- Biodegradable decorative elements
Seasonal Storage Solutions
Holiday Storage
- Ornament boxes with protective compartments
- Gift wrap organizers
- Light storage containers
Seasonal Clothing
- Moth-resistant boxes
- Humidity-controlled containers
- Vacuum-seal compatible designs
Conclusion
Custom storage boxes provide an economical and creative solution for home organization. With proper planning, materials, and execution, these personalized containers can transform cluttered spaces into organized, visually appealing areas. Regular maintenance and careful handling ensure these storage solutions remain functional and attractive for years to come.
Consider starting with a small project to perfect your technique before moving on to larger storage solutions. Document your successful designs for future reference and share your creative solutions with others in the DIY community.
FAQs
1. What materials do I need to create custom storage boxes that match my decor?
You’ll need sturdy cardboard or chipboard, decorative paper or fabric, adhesive (glue or double-sided tape), scissors, ruler, pencil, scoring tool, and optional embellishments like ribbons or labels.
2. How do I measure and plan my storage box dimensions?
Measure the items you plan to store, then add 1-2 inches for clearance. Draw a box template with a base, four sides, and flaps. Add 1/2 inch tabs for gluing the sides together.
3. Can I waterproof my decorative storage boxes?
Yes, you can apply clear acrylic sealer or Mod Podge with a waterproof finish over paper-covered boxes. For fabric-covered boxes, use waterproof fabric or spray with fabric protector.
4. What’s the best way to reinforce corners for durability?
Double-fold the corners, use corner braces made from additional cardboard, or add decorative metal corners. You can also reinforce with strong tape before covering with decorative material.
5. How do I create matching sets of different-sized boxes?
Use the same decorative paper or fabric for all boxes, maintain consistent design elements, and create boxes in graduated sizes that nest or stack well together.
6. What’s the proper way to create clean folds in cardboard?
Score the fold lines first using a scoring tool or ruler edge, then fold along the scored line. For thick cardboard, score both sides before folding.
7. How can I create removable lids that fit properly?
Make the lid 1/4 inch larger than the box base on all sides. Create a lip by adding a 1-inch strip around the inside of the lid to ensure a secure fit.
8. What adhesives work best for different decorative materials?
Use PVA glue for paper, fabric glue for textiles, hot glue for quick bonds and embellishments, and double-sided tape for precise paper application without wrinkles.
9. How do I prevent bubbling when applying decorative paper?
Work from the center outward, smoothing with a bone folder or credit card. Use appropriate adhesive amounts and ensure even application. For large surfaces, apply paper in sections.
10. What’s the best way to add handles or decorative elements?
For handles, reinforce the attachment points with extra cardboard layers. Use strong adhesives or brad fasteners for secure attachment. Position handles symmetrically and test weight capacity before use.


